


When you want to start painting work , there are a number of tips and important points that you should know in order to obtain an optimal final result. From preparing the room to the number of coats to apply and choosing the tools , this article will help you keep the main steps in mind before you start.
1) How to properly prepare the room?
Before even painting your room , it is best to make some adjustments to avoid any damage, both material and physical.
Empty your room of furniture, rugs, and curtains as much as possible to have as much space as possible around you and avoid staining your equipment with paint. If you have space issues, try gathering your furniture and objects to protect in the center of the room and covering them with a tarp or sheet that you don't particularly care for.
Also consider protecting the floor of your room with a tarp secured with special painting tape . You can also use masking tape to protect baseboards, window surrounds and door frames that you don't want to paint. To ensure a flawless result, you can also unplug electrical outlets and switches to avoid the risk of spilling them. Remember to turn off the electricity beforehand because the water contained in paint and electricity don't mix well.
Remove all decorative items that could get in the way of your work or that could be damaged (frames, paintings, photos, shelves, etc.) as well as screws, door handles or rods if there are any in the rooms you wish to paint.
2) How to properly prepare a wall before painting it?
Just before preparing your wall, remember to protect yourself and equip yourself properly . Put on comfortable clothes that you can afford to get stained, protect your hair with a cap or bandana, use gloves and protective goggles.
If your wall was covered with wallpaper , paneling or even carpet, you will of course have to strip it back to bare condition by carefully removing the various coverings and any associated traces of glue.
You can start by dusting and cleaning your wall by giving it a good wipe with a brush or cloth to remove any dust, cobwebs, or any other dirt that might be there.
You can then wash your wall and then wash it very lightly with clear water before wiping it with a clean cloth and letting it dry thoroughly.
Once your wall is perfectly clean , remember to fill any holes and cracks with a filler . Once the filler is completely dry, sand your wall with sandpaper so that it is completely smooth and dust again to remove any residue. The sanding step is also necessary if you want to repaint a wall that has already been painted in the past.
3) What materials should I use for painting?
Apart from appropriate clothing, a tarpaulin and protective tape, it is of course essential to have the right equipment available to carry out your work correctly.
Let's start with brushes . There are so many different types that we'll dedicate an entire article to them, but in the meantime, here are some important things to remember about brushes . They're the ones that help you clear corners and paint surfaces that require precision or are difficult to access.
Among a wide choice of brushes, you will find in particular:
- Rectangular or flat brushes: equipped with long bristles, these brushes are used to paint fairly large surfaces
- Round brushes , also called "re-edging brushes" : they are used for finishing and precision work, for clearing corners, painting windows, moldings or even narrow surfaces
Now let's move on to rollers . They are perfect for painting large surfaces such as walls and ceilings quickly and easily . To choose the right roller, choose a 12 to 14mm microfibre roller when applying our Algo paint . You can even add a telescopic pole to paint high areas.
There are also paint guns that allow you to obtain a consistent and high-quality finish.
While allowing you to paint more quickly, the paint gun still requires diluting the paint to facilitate its spraying.
4) How to calculate the right amount of paint?
To get started on projects without the risk of running out of paint or wasting it, there are just a few calculations you can use to best estimate the quantity of paint you need.
To do this, a few measures are necessary:
First measure the total length of the walls you want to paint and then their height . Multiply the two.
For example, if you want to repaint a wall 4m long and 2.5m high , this will give you an area of 4x2.5 = 10m 2
If the wall in question includes a door or window, you can refine your estimate by subtracting their area:
To do this, measure the height and width of your window this time.
For example: if you have a standard size window 1.25m high and 1m wide, or 1.25m2 your surface to paint will then be 10 – 1.25 = 8.75m2 !
Now that you know the area to be painted, you need to convert this into the amount of paint needed.
Find out the coverage of the paint you want to apply: in general, 1L of standard paint covers 10m2 while 1L of Algo paint covers 12m2.
To find out how many litres you will need per coat, simply divide your surface area to be painted in m2 by the yield in m2 per L. In our example with Algo paint you will need 8.75m2/12 = 0.73L to apply one coat of paint to your wall.
Then remember to multiply this result by the number of coats you apply in total . Generally, two coats of paint are needed in addition to the initial undercoat: you will therefore need 0.73 x 2 = 1.46L, or approximately 1.5L of paint to get a wall as good as new!
For greater simplicity, enter the necessary information into oursurface calculator and you will directly obtain the quantity of Algo paint required for your work!
5) How to choose the color of your paint
We already talked about it in our article How to repaint your bedroom , but there are so many shades that it is sometimes difficult to choose.
Your choice depends on a multitude of different criteria: your tastes, the size of your room, its layout, its function but also the atmosphere you wish to create there.
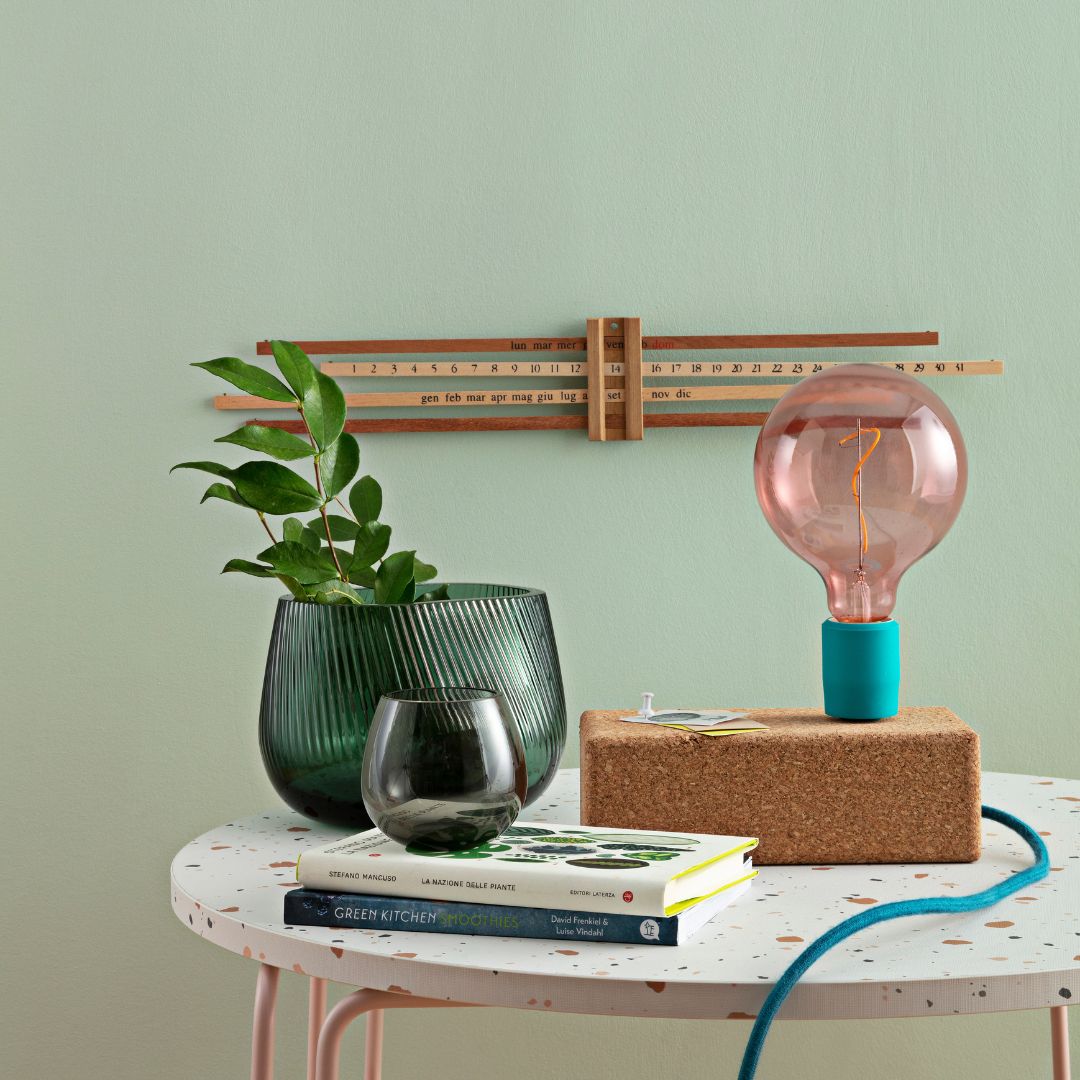
Whatever the room, you can use colors to your advantage to play on the perception of your spaces: light and natural colors ( pearl gray , beige , ivory, white , etc.) allow you to enlarge the space while darker shades and colors with strong character (red, dragonfly blue , brown , etc.) reduce the proportions and give it a warmer appearance.
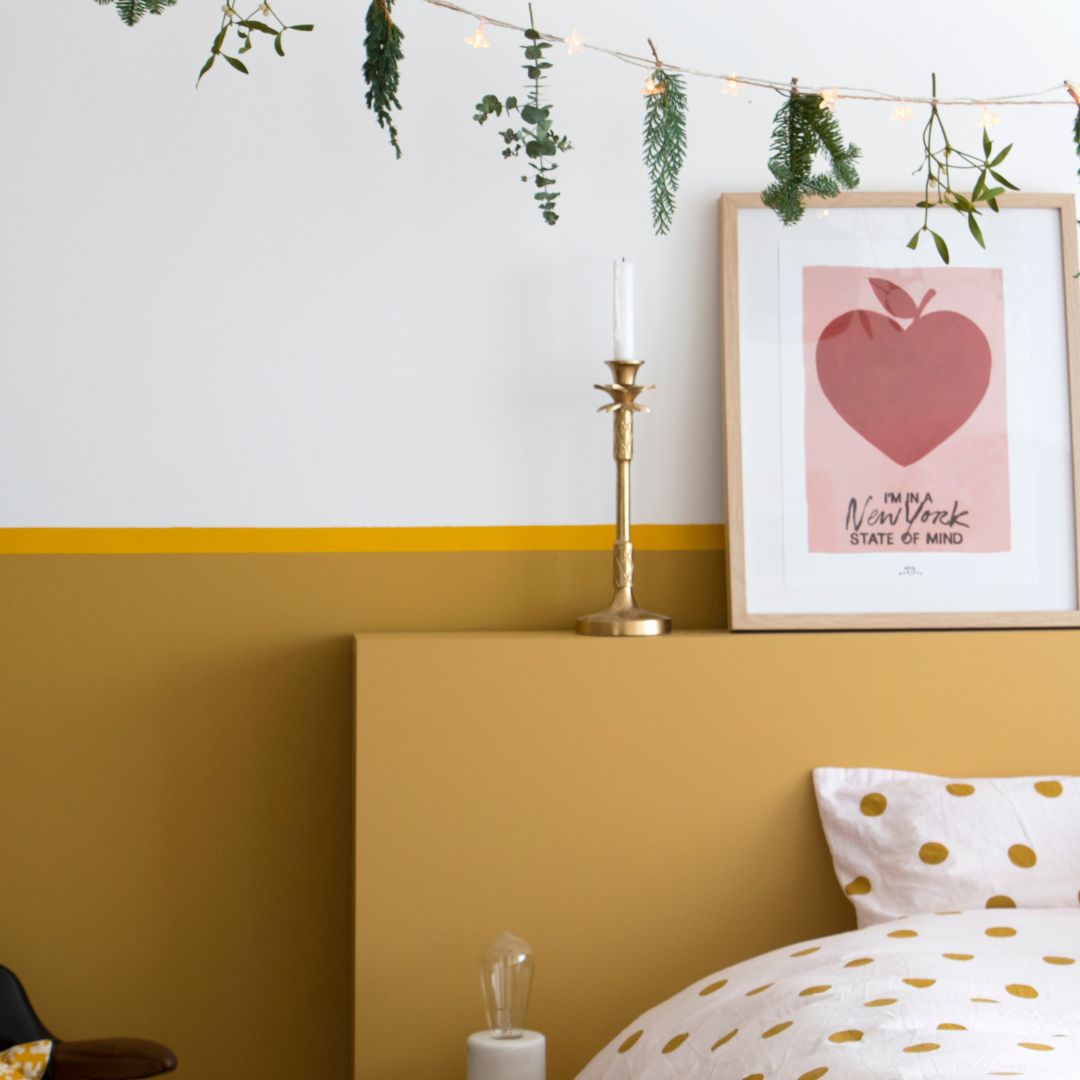
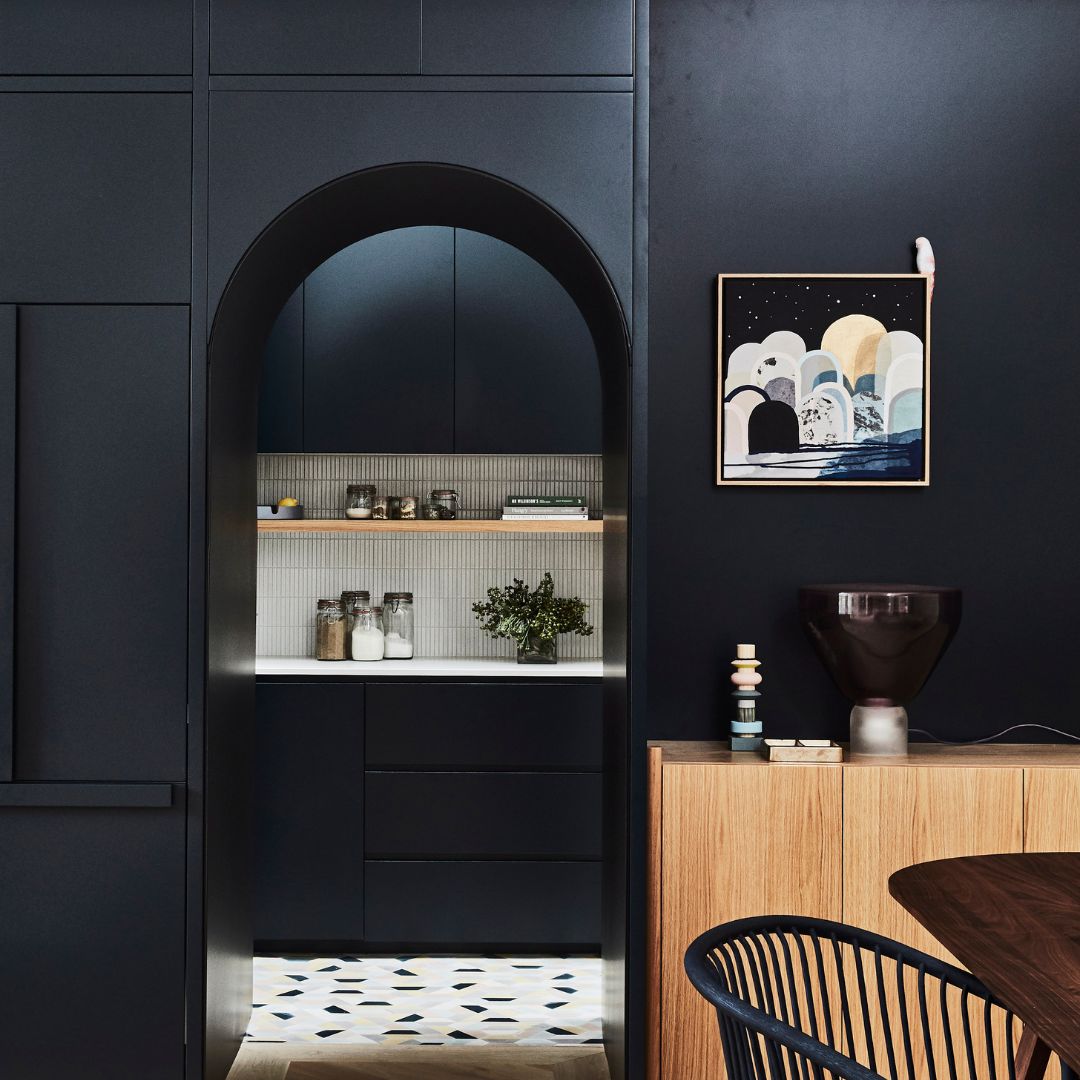
You can therefore consider painting a corridor white to make it look bigger, painting your office black and white to give it a modern style or opting for warm colours such as red , orange or yellow which can give a dynamic and friendly feel to a kitchen.
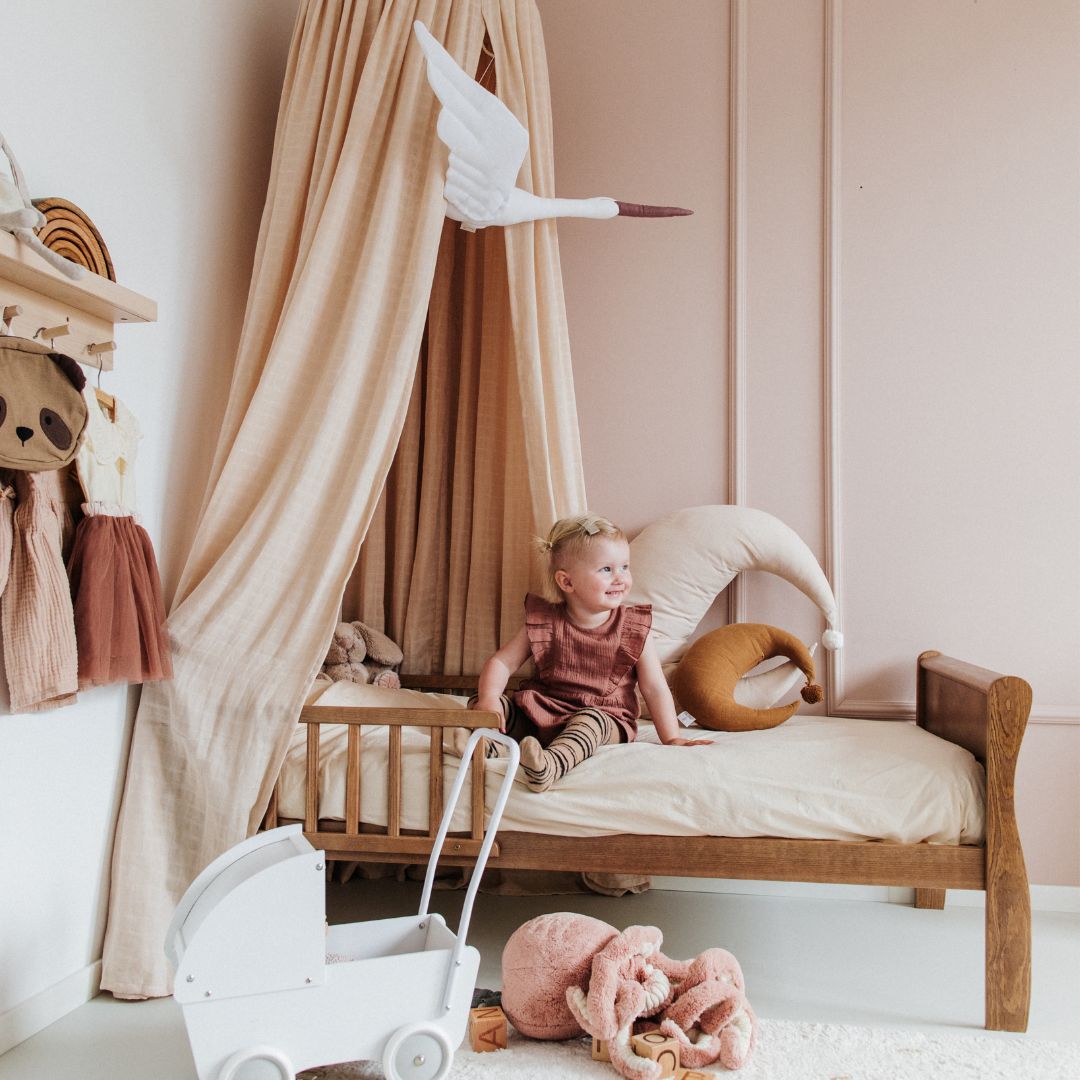
The psychology of colors can also inspire you. Indeed, colors are often associated with certain emotions or states of mind, so blue and green , for example, are favored colors for a bedroom because they evoke calm, relaxation, and rest .
Choose the colors you like, taking into account your room as a whole and see if your decor and the color of your furniture can go with it. Remember that you don't have to repaint all your walls the same color; you can very well paint several walls white or a light color and use a color full of character on a single wall to give your room character, for example. You get the idea: anything goes!
Don't hesitate to use various online simulators to better visualize what a particular paint you are considering might look like. You can also get a color chart to directly compare the shades you are interested in or even small tester pots that contain the paint of your choice so that you can actually observe the rendering it could have on a small part of your wall.
6) Matte, satin, glossy paint: how to choose the finish?
Just before we can explain how to choose the right finish, let's take the time to clearly define what each one corresponds to:
- A matte paint absorbs light, which helps to hide imperfections in the surfaces to be painted if they are a little damaged. Very easy to apply , it gives rooms a soft and warm atmosphere . This type of finish is less washable than the satin finish: if you dirty or stain your wall, it will be more difficult to repair it.
- A satin paint offers a beautiful decorative finish and has the advantage of being versatile. Unlike a matte paint , it reflects light and therefore requires that the surface to be painted is very smooth to avoid the risk of accentuating any defects. It is easily washable.
- Gloss paint is very bright and gives a lacquered, mirror-like appearance to painted surfaces. Even more so than satin paint, a glossy finish is reserved for flawless walls and woodwork. It is also ideal for intensifying the shades of chosen paints.
Which finish in which rooms?
- Matte paint is ideal for ceilings. Since it is less washable than a satin finish, it is not recommended for use in busy rooms such as hallways or children's bedrooms. It is ideal for living areas such as the living room, an adult bedroom, or a lounge. Avoid using matte paint in a humid room, as it is not the most suitable finish.
- Satin paint is suitable for all types of rooms and walls , including damp rooms such as bathrooms and kitchens , high traffic rooms (hallways, entrances) as well as living rooms (bedrooms, living rooms, etc.) and children's bedrooms because it washes very well .
Choose based on the ambiance you want to create for your room, as well as the different properties of each finish. You now have all the tools you need for a successful project!
7) Why apply an undercoat?
The undercoat is an essential step in painting ! This white or neutral paint is also called primer or primer , and no matter what surface you want to paint, you'll find that an undercoat will make your life easier and make applying your finishing paint much simpler.
Here is a small selection of the main advantages of an underlay:
- This helps to even out your surface. Indeed, each type of surface is more or less porous or absorbent than another. An undercoat is specially enriched to find a balance between the two and make the surface uniform . This therefore prevents your wall or ceiling from "drinking" your finishing paint afterwards and allows you to smooth out irregularities for a more harmonious finish.
- Since the surface is uniform, the undercoat promotes the adhesion of the finishing paint as well as its resistance over time. If the undercoat has been applied correctly, the final paint will not risk chipping or cracking after a few days. You will therefore obtain an impeccable result! Please note that on the following surfaces, a finishing paint cannot hold without an undercoat: tiles, already painted walls, wood, glass, plastic, plasterboard, plaster and plastic.
- Naturally, the undercoat saves you time but also money: the undercoat prevents your surface from absorbing your finishing paint, so you no longer need to apply several coats of paint but only one or two!
8) How many coats of paint?
As we have just seen, you must first apply a primer . After letting your surface dry for the time indicated on your paint pot, you will generally need two coats of final paint to obtain the desired result: The first coat must be fairly thin without trying to completely cover what is underneath. Once the drying time has passed , it is the second coat that will allow you to obtain a perfect result.
Be careful with paints sold as "one-coat" : they certainly provide better coverage, but you will often need to apply two coats for optimal results, especially if you are going from a dark color to a light color.
Depending on the quality of the paint you choose and how demanding you want it to be, you can apply a third or even a fourth coat of paint. The more coats you apply, the brighter the finish, especially with white paint.
In summary, if you want to repaint a wall, you will need to apply 3 coats of paint: 1 undercoat and 2 coats of final paint!
9) What is the drying time between two coats of paint?
If you have already followed all the steps above, do not neglect the drying time between your coats of paint: you risk destroying all the work already done!
Trust the drying time indicated on your paint pots by the manufacturer: at Algo, we advise you to wait 12 hours between applying 2 coats of paint for the best results.
Be sure to follow this time schedule because your senses can play tricks on you: by touch, you may feel that the paint is dry when in fact it is not ready for a new coat of paint. Applying a coat of paint over paint that is not sufficiently dry can cause bubbles or blisters to appear, which is something everyone wants to avoid!
This recommended drying time depends on your application technique: for optimal results, apply the paint correctly , applying coats of the correct thickness that are neither too thin nor too thick (in the first case, you would have to apply several coats afterwards, and in the other, the paint would dry more slowly and risk forming bubbles or marks).
The temperature of your room and its humidity level play a role in drying. The ideal drying temperature is between 10°C and 20°C : above this temperature, the paint dries very quickly; below this temperature, it dries too slowly.
Also note that acrylic (water-based) paint dries fairly quickly and you will only have to wait an hour or two on average between two coats of paint. On the other hand, glycero (oil-based) paint takes longer to dry and you will have to wait between 6 and 8 hours between each coat.
10) How to clean your tools?
After a good painting session, the satisfaction of having shiny new walls can quickly make you forget the need to clean everything. However, it's important to clean your tools and brushes quickly to avoid damaging them and having to invest in new tools.
Cleaning brushes depends mainly on the type of paint used:
- If you have used acrylic paint , your brushes will come out looking like new with soap and water. First, remove most of the paint residue from your brushes using paper towels or by rubbing them against cardboard. Then run them under hot or warm water, add soap or dish soap and rinse with clean water. Once clean, wipe the bristles of your brushes with a cloth and let them dry upside down to avoid damaging the bristles.
- If you have applied a glycero or synthetic paint , you will need to use a specific solvent such as White Spirit. First remove any excess paint by soaking your brushes thoroughly in White Spirit. After a few minutes, check that the paint has completely removed, then wash your tools with warm water and soap, rinse them and let them dry.
The procedure is very similar to cleaning a roller. You will first need to remove excess paint by rolling it on old newspapers or cardboard, then soak it in soapy water for acrylic paint or in white spirit for oil-based paint. Remember to clean the roller sleeve thoroughly as well.
When using Algo paint, you can easily wash your tools with water without using white spirit.
Repeat the liquid and soaking several times until all the paint has been removed, then rinse your roller with soap and water, then with clean water. Then let it dry.
Aside from the type of paint used, the brush material is also important to consider. Natural bristles require different cleaning methods than synthetic bristle brushes.
In any case, remember to wear gloves while cleaning.