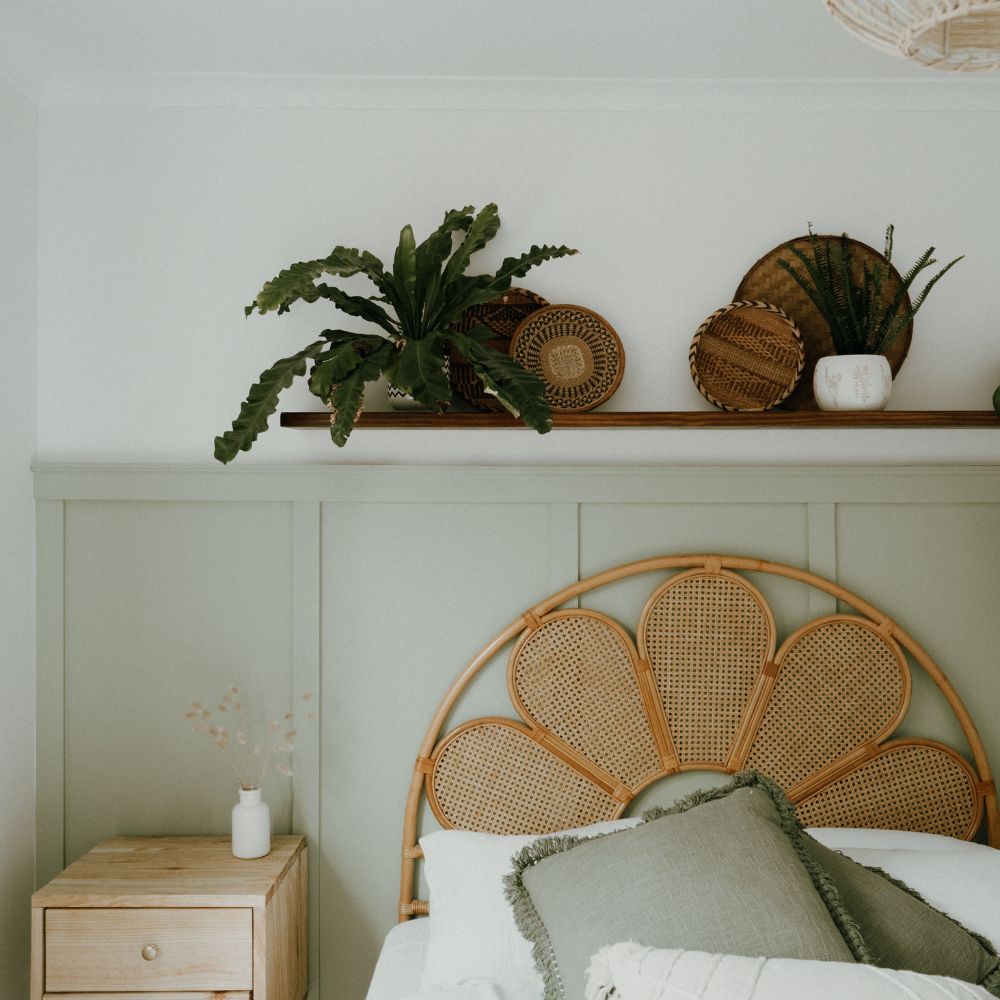
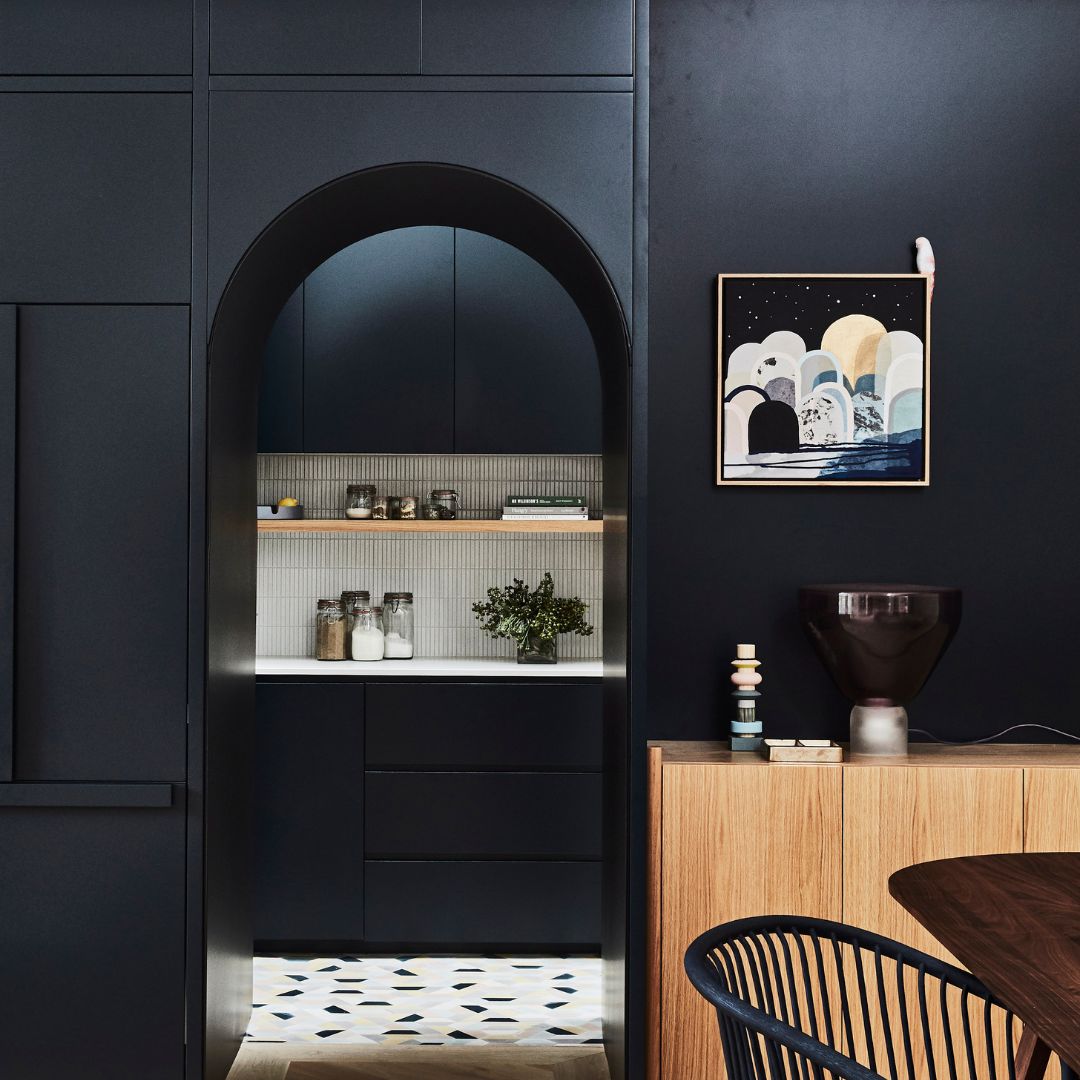
Essential in 90% of cases, the usefulness of an undercoat is often underestimated. However, its application allows you to ensure a better finish and make your work easier: don't miss out!
What is an underlay?
The famous undercoat that everyone talks about is a white paint that is also known as primer or primer . It is an essential step in painting and is applied just after the surface preparation phase. which we told you about in a previous article (after filling the holes, sanding and cleaning) and just before applying the final finishing paint.
Even though it's white, the undercoat doesn't change the rendering of your final color because no matter what shade you choose, it completely covers your undercoat. But just because you can't see it anymore doesn't mean it's not useful, quite the contrary!
Good reasons to apply an undercoat
Each type of surface is more or less porous or absorbent than another, more or less smooth or regular . A primer is specially enriched and designed to make the surface uniform and smooth out irregularities, all with the aim of achieving an optimal result. This therefore prevents your wall or ceiling from "drinking" your finishing paint afterwards and prevents you from ending up with stains once the paint is dry. A primer = a more harmonious finish!
- Promote paint adhesion and resistance
By standardizing the surface to be painted, the undercoat helps to find the right balance in terms of adhesion porosity. This allows the final paint to adhere better to your surface and the risk of your paint cracking or flaking is therefore eliminated!
The undercoat is even completely essential on the following surfaces if you want the finishing paint to hold well: already painted walls , tiles , wood , plasterboard , plastic , metals or even glass . So try to make paint stick to a metal surface without undercoat... Good luck!
- “ Time is money.”
This famous expression also applies to painting! Indeed, without a prior undercoat, your surface will directly absorb your finishing paint, this is even more the case if it is porous: you must then apply several coats of paint to obtain a satisfactory result. Thanks to an undercoat, you avoid wasting paint and you no longer need to apply more paint or several coats to obtain the covering result you want. You therefore save both time and paint cans!
On which surfaces should the undercoat be applied?
Applying an undercoat is necessary in 90% of situations, particularly on:
- special substrates such as tiles, glass, metal, plastic or laminate
- particularly absorbent and/or porous surfaces such as plaster/plasterboard or wood
- very colorful surfaces before being able to repaint them in another color
- crumbling walls
- surfaces already painted before
- supports where a coating has been applied
The only time you can do without an undercoat is if your surface is perfectly prepared, non-porous, and adheres well.
If you have just acquired a new home, do not hesitate to ask whether the walls have been primed or not, because even new plaster walls, for example, cannot be painted properly without a primer first. Having new surfaces is therefore no guarantee that you will avoid this essential step during your renovations.
Please note: Once the primer is applied, cover it well with a finishing paint in the color of your choice: the primer is generally sensitive to light and could yellow over time if not covered.
Which undercoat should I choose?
As with the finishing paint , there are different types of undercoats depending on the surface you are about to paint: plasterboard undercoat for plasterboard, anti-rust for metal surfaces, microporous for wood or even special tiling, laminate or bathroom.
There is also a type of undercoat called universal undercoat that can be adapted to different types of supports and materials. A universal undercoat is therefore very practical to adapt to all your work, whether for repainting plasterboard , wood or plastic . The materials compatible with this type of undercoat are listed on the packaging, and if it is more or less suitable for indoor or outdoor work, do not hesitate to check.
In terms of price, a good primer costs about the same per liter as paint. If you can, choose a quality primer and be wary of cheap deals that can risk giving you a mediocre result, even if you've invested in a superb topcoat.
How to apply an undercoat?
If you have reached the stage of applying the undercoat, it is because you have already followed the first steps of preparing your part and your support that we covered in this article .
Check that your floor is always well protected with a tarpaulin and that your masking tape is always correctly placed around the elements not to be painted (door and window surrounds, sockets, baseboards, etc.).
Then mix your undercoat so that the texture is even: you can do this using a mixer. Then take your best sash brush to clear the corners and contours of your surfaces and then apply the undercoat with a roller from top to bottom. Then let it dry thoroughly, following the time indicated on the pot, and your surface will be ready to receive your final paint!


