-
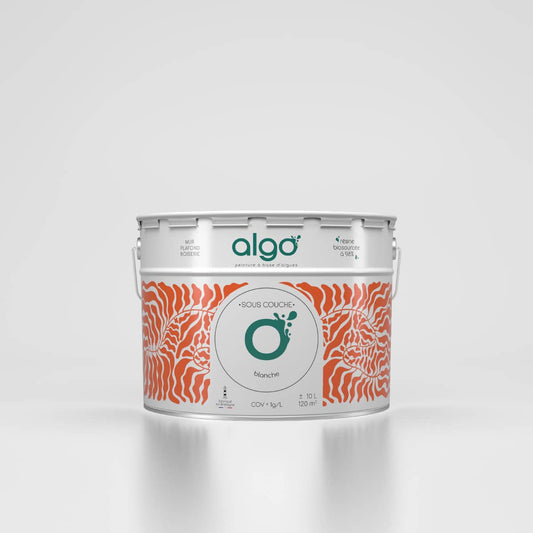
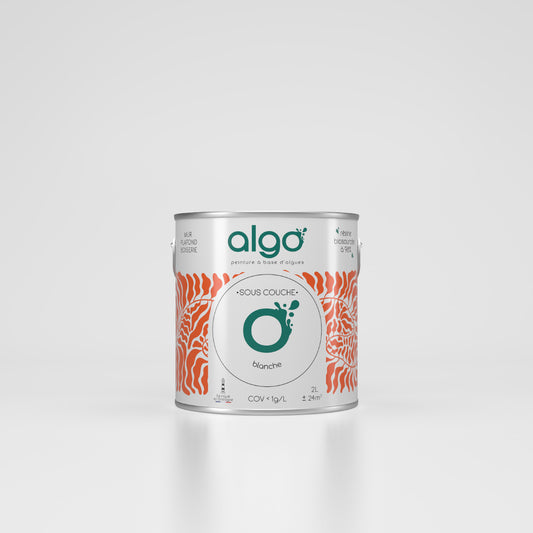
Algo ecological underlay
Regular price from From 16,50 € ttcRegular priceUnit price 9,90 € ttc per l19,90 € ttcSale price From 16,50 € ttcSale -
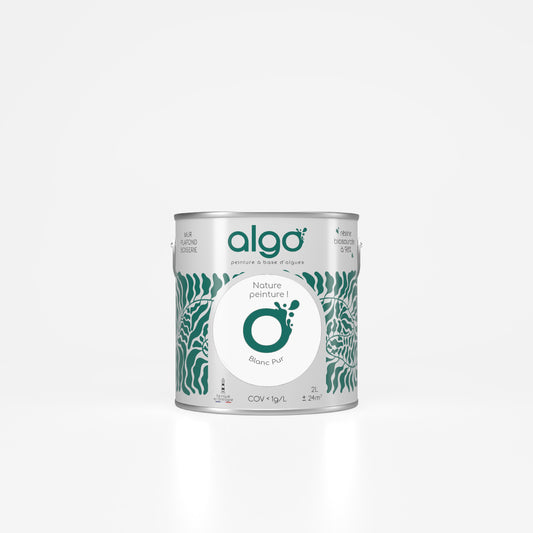
Algo Eco-Friendly Paint - Pure White
Regular price from From 22,90 € ttcRegular priceUnit price 11,40 € ttc per l -
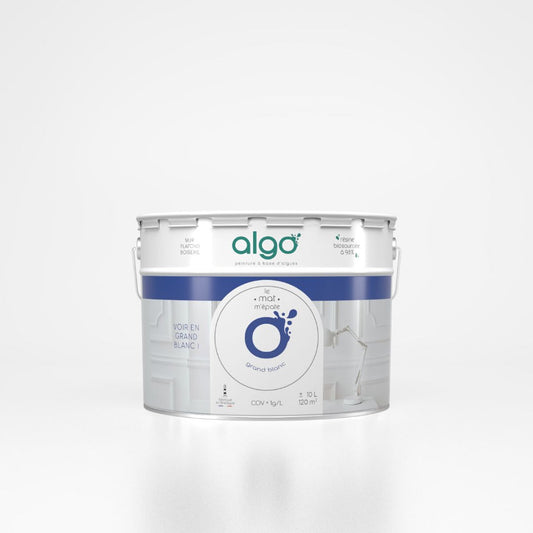
Algo Eco-Friendly Paint - Grand Blanc
Regular price from From 59,90 € ttcRegular priceUnit price 11,98 € ttc per l0,00 € ttcSale price From 59,90 € ttc -
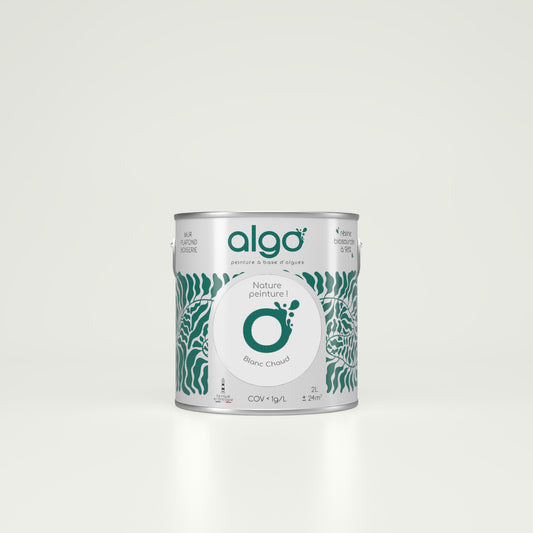
Algo Eco-Friendly Paint - Warm White
Regular price from From 23,90 € ttcRegular priceUnit price 47,80 € ttc per l -
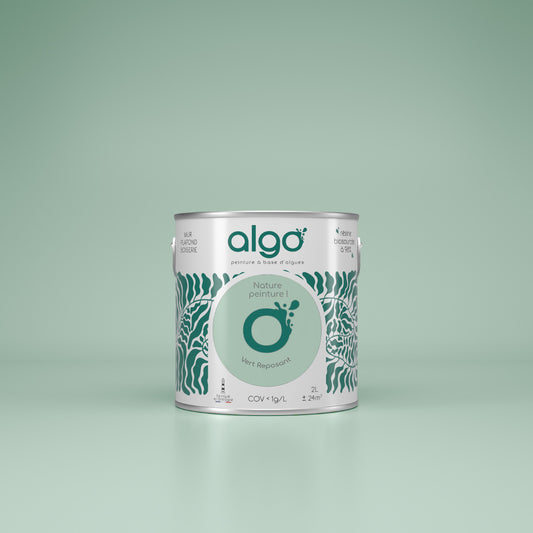
Algo Eco-Friendly Paint - Relaxing Green
Regular price from From 19,90 € ttcRegular priceUnit price 47,00 € ttc per l25,90 € ttcSale price From 19,90 € ttcSale -
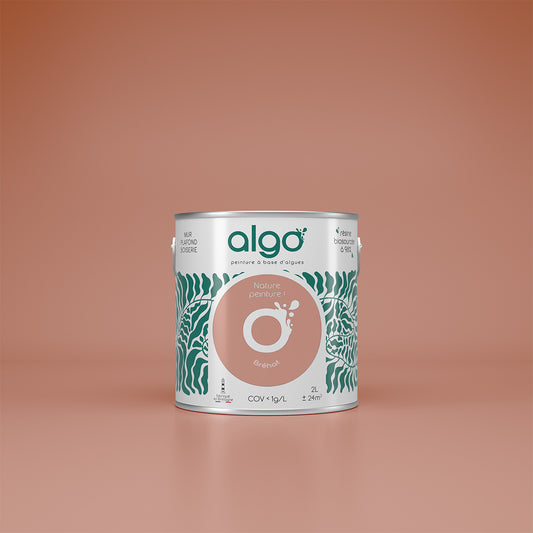
Algo Eco-Friendly Paint - Bréhat Pink
Regular price from From 19,90 € ttcRegular priceUnit price 47,00 € ttc per l25,50 € ttcSale price From 19,90 € ttcSale -
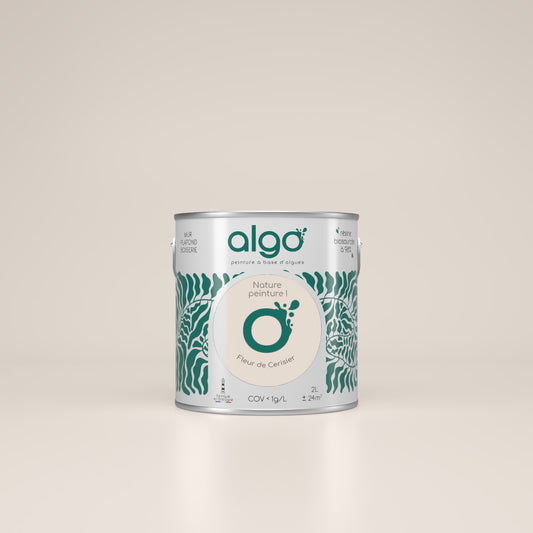
Algo Eco-Friendly Paint - Cherry Blossom Beige
Regular price from From 19,90 € ttcRegular priceUnit price 47,00 € ttc per l25,50 € ttcSale price From 19,90 € ttcSale -
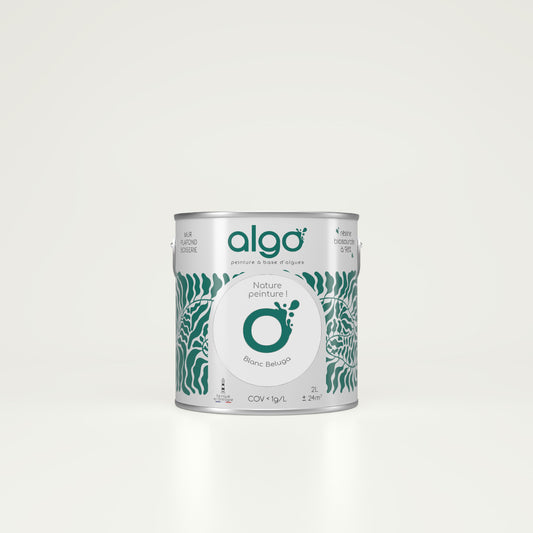
Algo Eco-Friendly Paint - Beluga White
Regular price from From 19,90 € ttcRegular priceUnit price 47,00 € ttc per l0,00 € ttcSale price From 19,90 € ttc -
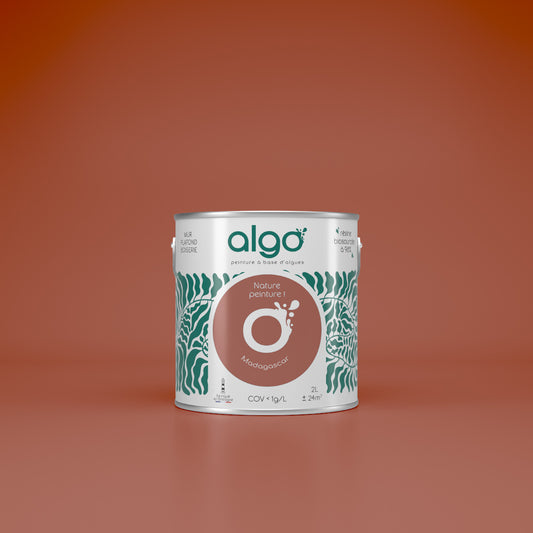
Algo Eco-Friendly Paint - Terracotta Madagascar
Regular price from From 24,90 € ttcRegular priceUnit price 49,80 € ttc per l -
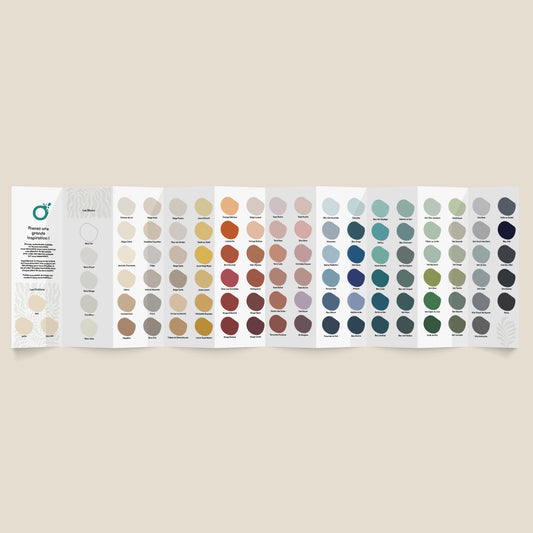
Algo color chart
Regular price 16,90 € ttcRegular priceUnit price per -
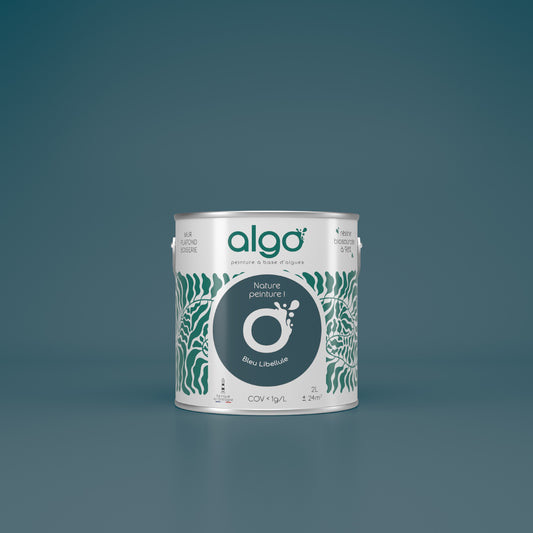
Algo Eco-Friendly Paint - Dragonfly Blue
Regular price from From 19,90 € ttcRegular priceUnit price 49,80 € ttc per l26,90 € ttcSale price From 19,90 € ttcSale -
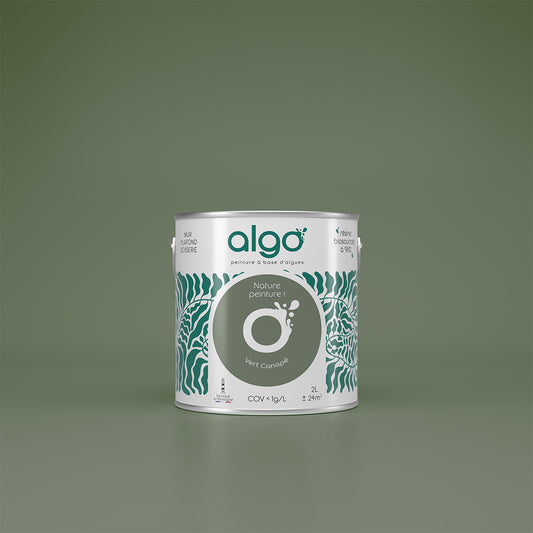
Algo Eco-Friendly Paint - Canopy Green
Regular price from From 19,90 € ttcRegular priceUnit price 51,80 € ttc per l26,90 € ttcSale price From 19,90 € ttcSale -
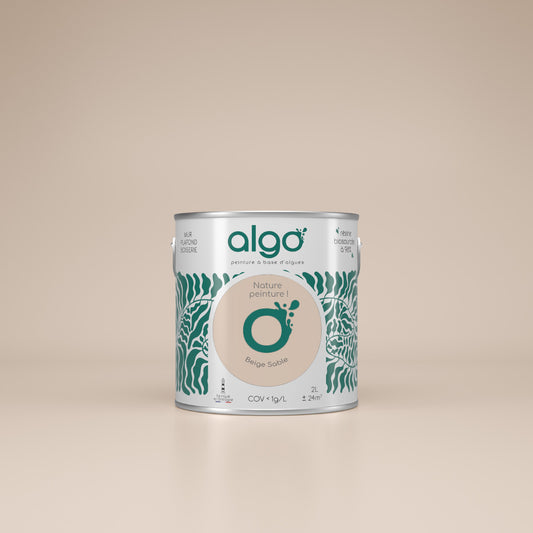
Algo Eco-Friendly Paint - Sand Beige
Regular price from From 19,90 € ttcRegular priceUnit price 47,00 € ttc per l25,50 € ttcSale price From 19,90 € ttcSale -
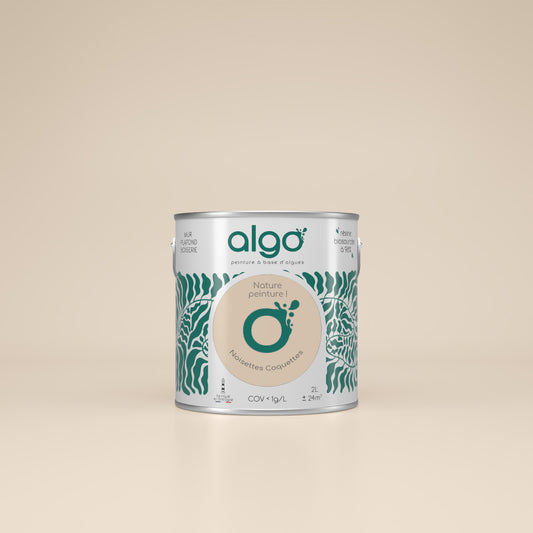
Algo Eco-friendly Paint - Coquette Hazelnut Beige
Regular price from From 19,90 € ttcRegular priceUnit price 47,00 € ttc per l25,50 € ttcSale price From 19,90 € ttcSale -
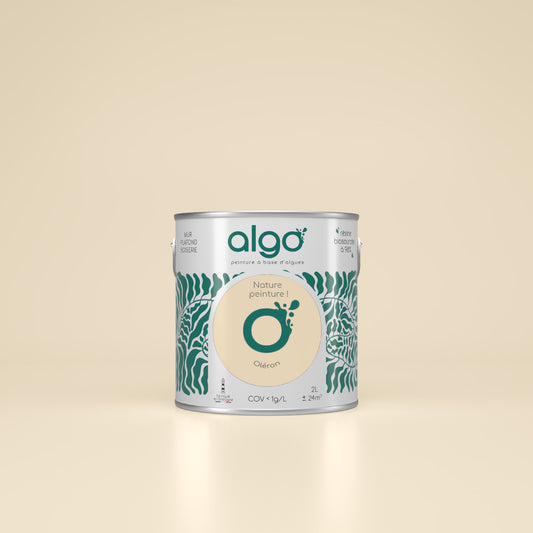
Algo Eco-Friendly Paint - Oléron Beige
Regular price from From 23,50 € ttcRegular priceUnit price 47,00 € ttc per l -
Algo Eco-Friendly Paint - Magnificent Yellow
Regular price from From 23,50 € ttcRegular priceUnit price 47,00 € ttc per l23,50 € ttcSale price From 23,50 € ttc -
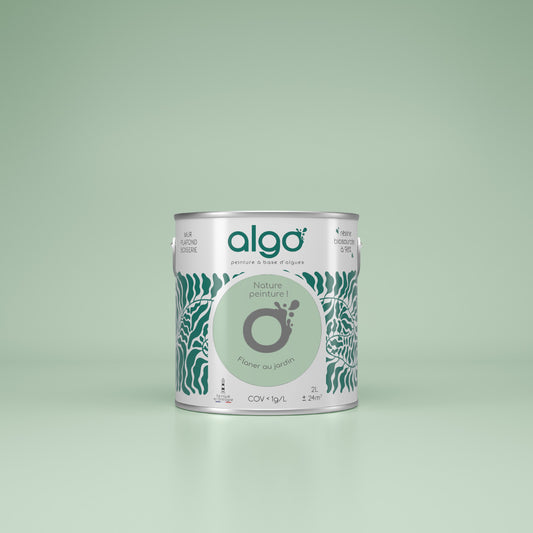
Algo Eco-Friendly Paint - Green Stroll in the Garden
Regular price from From 23,50 € ttcRegular priceUnit price 47,00 € ttc per l -
Algo ecological paint - Terracotta Ponziane
Regular price from From 19,90 € ttcRegular priceUnit price 49,80 € ttc per l26,90 € ttcSale price From 19,90 € ttcSale -
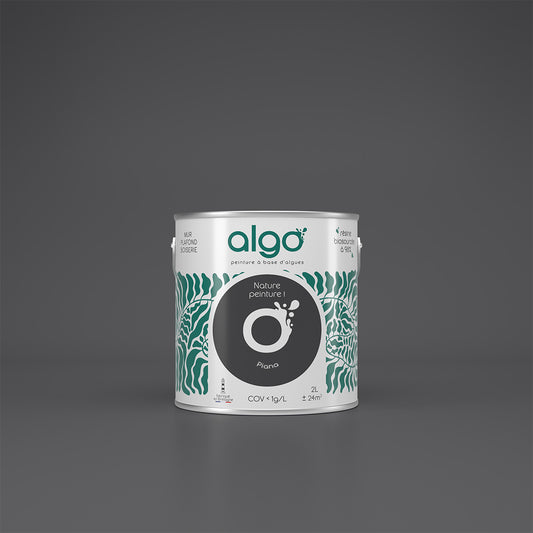
Algo Eco-Friendly Paint - Piana Black
Regular price from From 19,90 € ttcRegular priceUnit price 51,80 € ttc per l26,90 € ttcSale price From 19,90 € ttcSale -
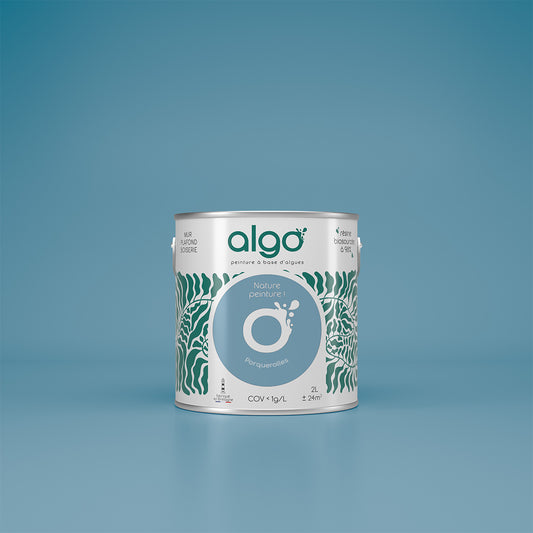
Algo Eco-Friendly Paint - Porquerolles Blue
Regular price from From 19,90 € ttcRegular priceUnit price 49,00 € ttc per l25,50 € ttcSale price From 19,90 € ttcSale -
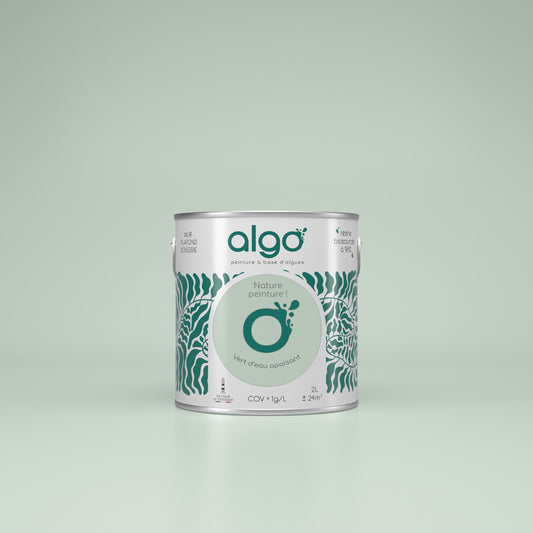
Algo Eco-Friendly Paint - Soothing Water Green
Regular price from From 23,50 € ttcRegular priceUnit price per -
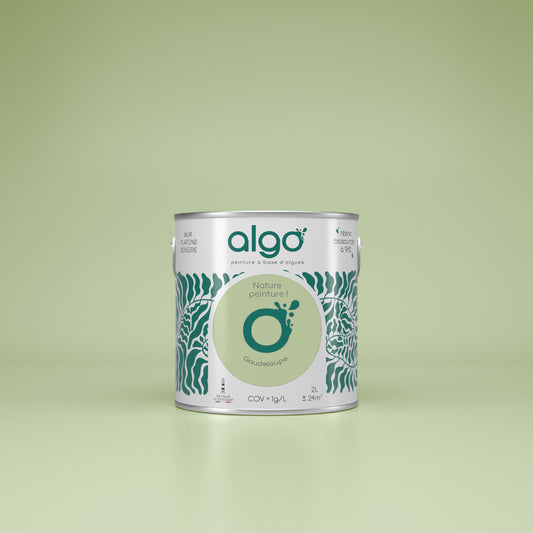
Algo Eco-Friendly Paint - Vert Guadeloupe
Regular price from From 23,50 € ttcRegular priceUnit price 47,00 € ttc per l -
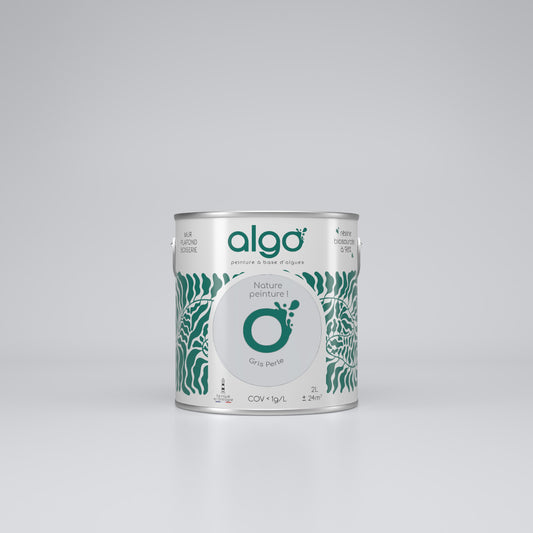
Algo Eco-Friendly Paint - Pearl Grey
Regular price from From 19,90 € ttcRegular priceUnit price 49,00 € ttc per l25,50 € ttcSale price From 19,90 € ttcSale -
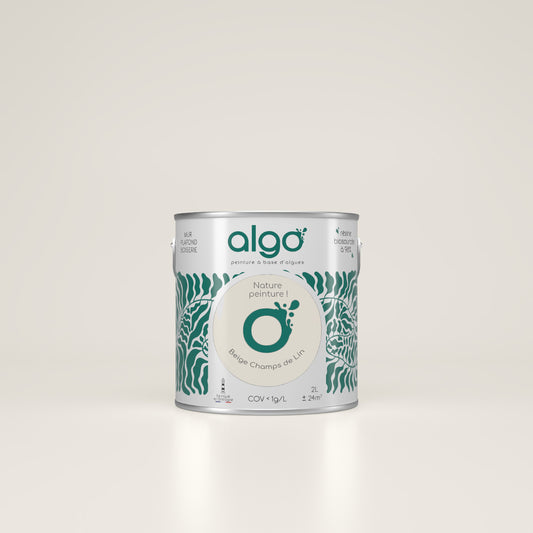
Algo Eco-Friendly Paint - Linen Field Beige
Regular price from From 23,50 € ttcRegular priceUnit price 47,00 € ttc per l -
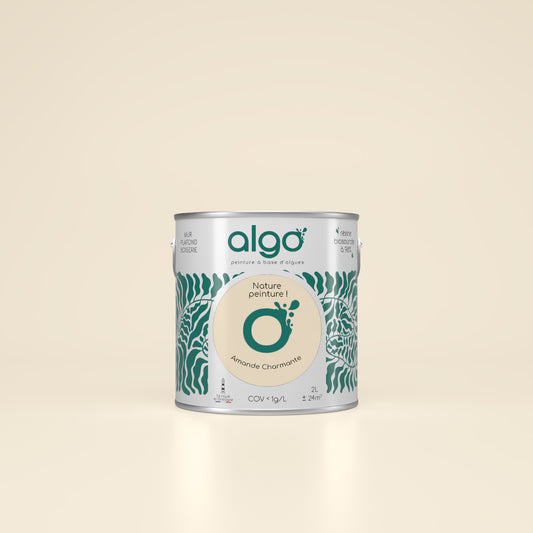
Algo Eco-Friendly Paint - Charming Almond Beige
Regular price from From 23,50 € ttcRegular priceUnit price 47,00 € ttc per l -
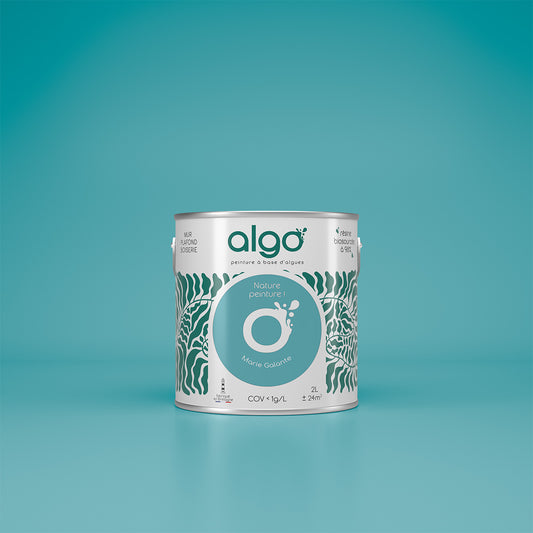
Algo Eco-Friendly Paint - Marie-Galante Blue
Regular price from From 23,50 € ttcRegular priceUnit price 49,00 € ttc per l -
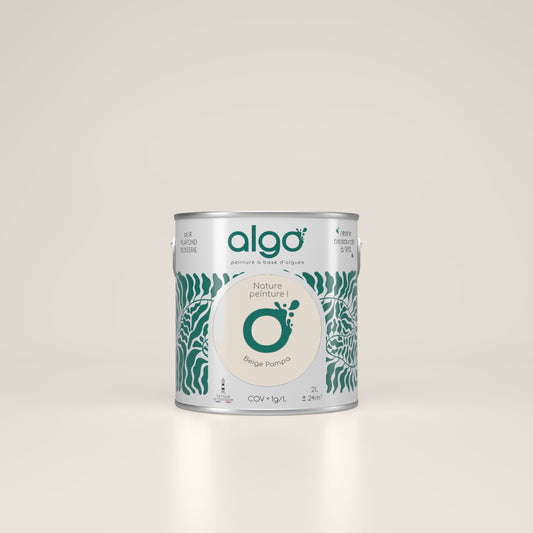
Algo Eco-Friendly Paint - Pampa Beige
Regular price from From 23,50 € ttcRegular priceUnit price 47,00 € ttc per l -
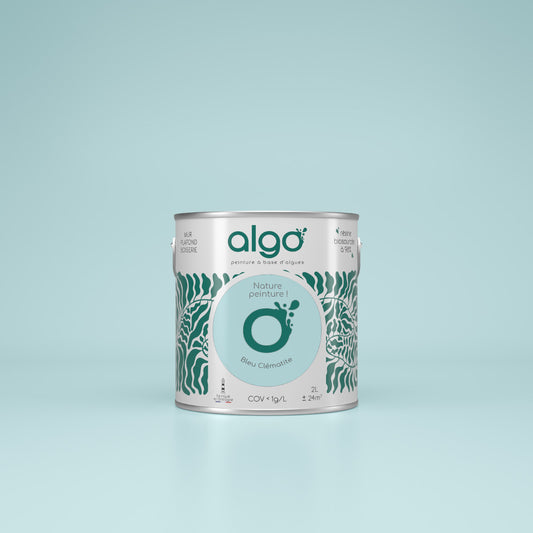
Algo Eco-Friendly Paint - Clematis Blue
Regular price from From 23,50 € ttcRegular priceUnit price 49,00 € ttc per l -
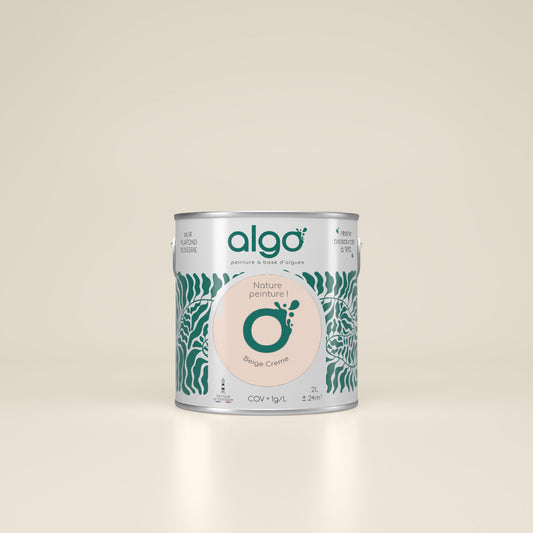
Algo Eco-Friendly Paint - Cream Beige
Regular price from From 23,50 € ttcRegular priceUnit price 47,00 € ttc per l -
Algo Eco-Friendly Paint - Meditation Session Blue
Regular price from From 23,50 € ttcRegular priceUnit price 47,00 € ttc per l -
Algo Eco-Friendly Paint - Playful Blue-Green
Regular price from From 23,50 € ttcRegular priceUnit price 47,00 € ttc per l -
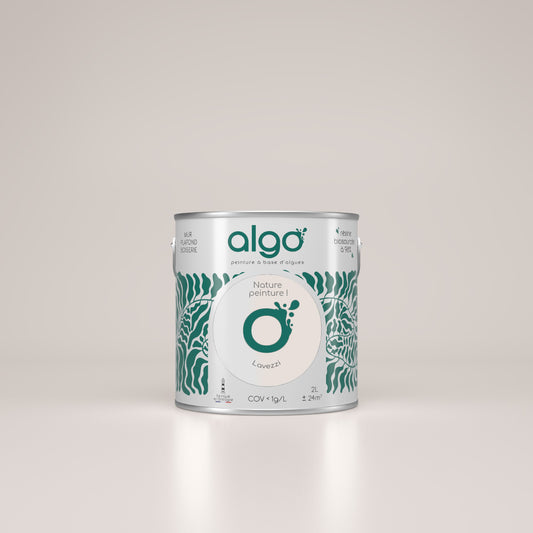
Algo Eco-Friendly Paint - Lavezzi Beige
Regular price from From 23,50 € ttcRegular priceUnit price 47,00 € ttc per l -
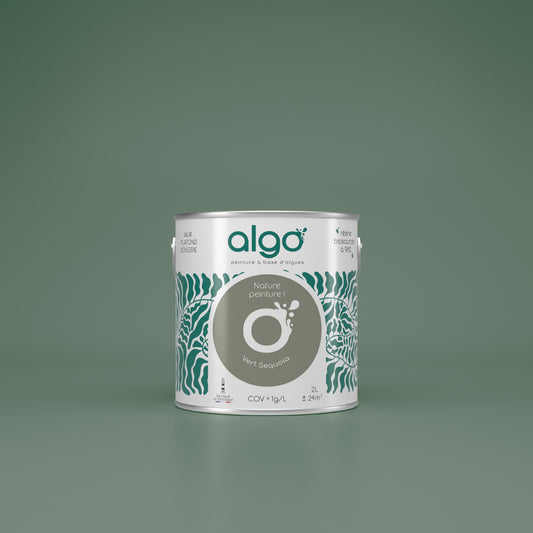
Algo Eco-Friendly Paint - Sequoia Green
Regular price from From 19,90 € ttcRegular priceUnit price 51,80 € ttc per l26,90 € ttcSale price From 19,90 € ttcSale -
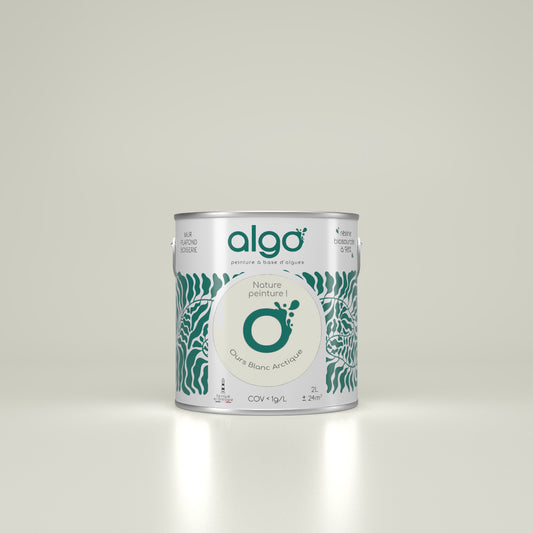
Algo Eco-Friendly Paint - Arctic Polar Bear
Regular price from From 23,50 € ttcRegular priceUnit price 47,00 € ttc per l -
Algo Eco-Friendly Paint - Exquisite Mirabelle Yellow
Regular price from From 19,90 € ttcRegular priceUnit price 49,00 € ttc per l25,50 € ttcSale price From 19,90 € ttcSale -
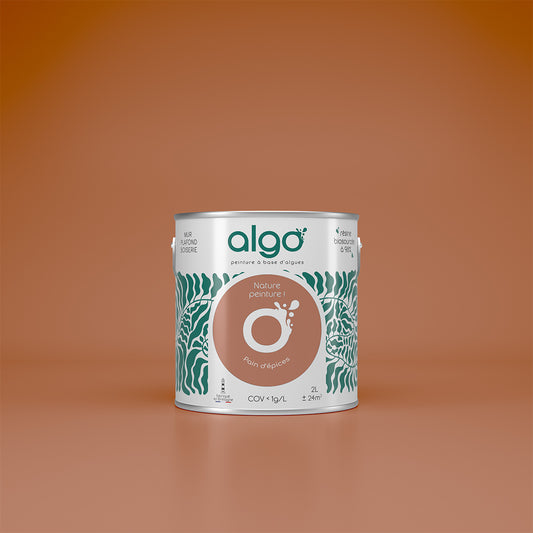
Algo Eco-Friendly Paint - Gingerbread Brown
Regular price from From 24,90 € ttcRegular priceUnit price 49,80 € ttc per l -
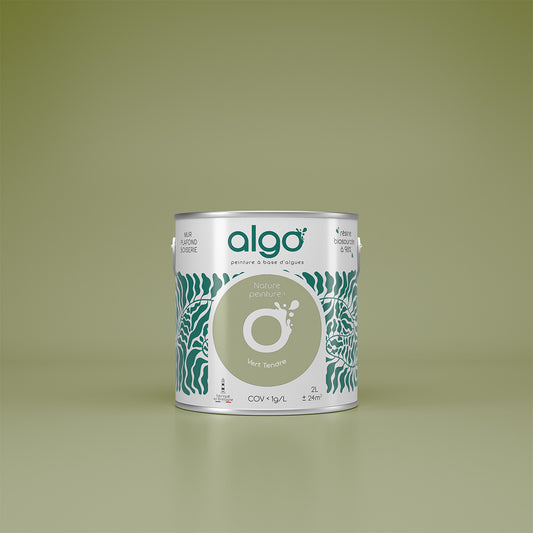
Algo Eco-Friendly Paint - Soft Green
Regular price from From 23,50 € ttcRegular priceUnit price 47,00 € ttc per l -
Algo Eco-Friendly Paint - Brown Sunday Night Pancakes
Regular price from From 23,50 € ttcRegular priceUnit price 47,00 € ttc per l -
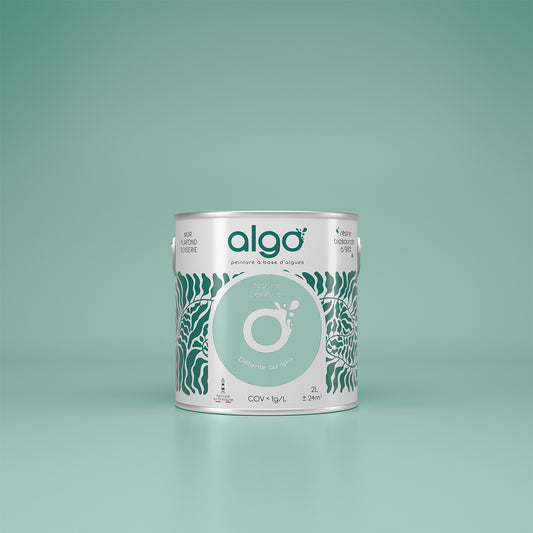
Algo Eco-Friendly Paint - Green Spa Relaxation
Regular price from From 23,50 € ttcRegular priceUnit price 47,00 € ttc per l -
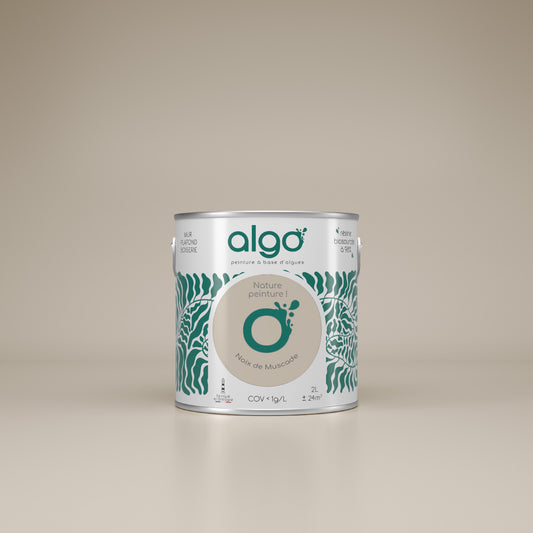
Algo Eco-Friendly Paint - Nutmeg Beige
Regular price from From 23,50 € ttcRegular priceUnit price 47,00 € ttc per l
Choose your colors with ease
-

Find the perfect shades with our color consultant
Book your free coaching -
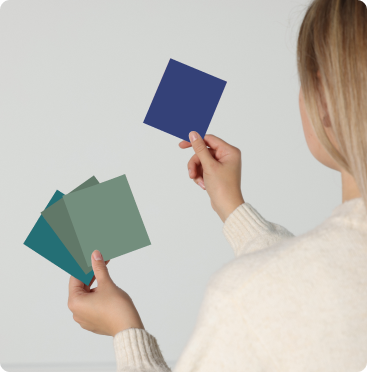
Easily choose your shades with our samples
See our 100 samples -
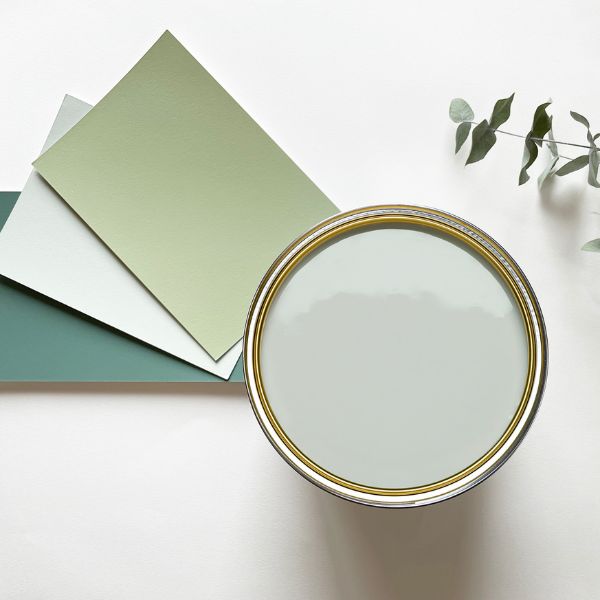
Fall for our magnificent color harmonies
See our color harmonies
-

Fast delivery
and neat -

A service
top customer! -

More than 2000
verified reviews -

Payment
secure
For your ceilings, choose a matte paint
Painting your ceilings is an important consideration before you begin your painting project. While there are many different paint ranges available (some of which are specifically designed for ceiling applications), Algo wall paints are ideal for ceilings throughout your home.
In order to be able to carry out your work with complete peace of mind, we recommend that you use a matte finish that is more suitable for ceilings: much less reflective than velvet or satin, matte has the advantage of masking imperfections in the surface.
A velvet finish is also applicable: velvet is simply a hybrid of matte and satin. Velvet paint is more washable, but it will be shinier, making potential ceiling imperfections more noticeable.
If there are roller marks on the support, the velvet finish will make them more visible.
Prepare the ceiling properly for painting
Just like with the walls in your home, successfully painting your ceiling requires proper preparation, especially if it's already been painted. Learn how to prepare for painting your ceilings in 4 steps:
Relatively simple, it simply involves moving your furniture or the elements that make up the room. Covering the furniture with a sheet can also be a suitable and faster solution.
To avoid splashes, it will also be advisable to protect the floor with plastic sheeting to avoid dirt and possible soiling.
- Sanding the surface : this is not the most pleasant part of your work, however sanding the surface with sandpaper will undoubtedly promote the adhesion of the paint, thus giving you an additional guarantee.
- Washing and cleaning: for many reasons, mainly for ease of application and the desired result, washing and cleaning are essential for preparing your work.
This will involve removing any dirt and dust that may have accumulated on the surface, then washing the ceiling with a cloth lightly dampened with clear soapy water.
When you have successfully cleaned the ceiling, rinse with a clean cloth dampened with water to remove any remaining soap.
Applying paint for a streak-free ceiling
Before working on your ceiling, it's important to consider the tools you'll need to paint your ceiling. While we offer a tool kit to help you complete your project with complete peace of mind, here's a list of the tools you'll need:
- A flat paint tray , allowing you to distribute the paint evenly on your roller
- A medium-sized sash brush , which will be essential for cleanly clearing the corners of the surface to be painted
- smooth masking tape : adhesive element to protect the wall from possible overhangs from rollers or brushes. It is essential for delimiting the area to be painted
- a roller and a frame , to paint the surface. The ideal is to choose a roller recommended by the brand, 14mm microfiber for Algo paints.
Now that you have prepared your piece, cleaned your support and all the necessary tools are gathered, you can move on to applying the paint.
Our tips for painting your ceiling
First, make sure you choose a primer and apply a coat to ensure you get the best possible result, even if your ceiling is already painted white.
Remember that it is possible and recommended to dilute the paint with clear water up to 5% for better flow. In addition to thinning the paint, this also improves application comfort.
To achieve an A-grade finish (which is the best grade in terms of rendering), our advice is to apply two coats of paint.
If all finishes are applicable on ceilings: the matte finish will be the most suitable for this type of surface.
First of all, make sure to roll your roller in the paint tray to remove excess paint, but above all to even out the amount of paint on it.
Divide your ceiling into 1m2 areas to control the application of the paint to the surface.
The paint must be applied in a cross-pattern, evenly and uniformly, maintaining a consistent pressure level to avoid any possible traces of rework.
Once the paint is applied, don't hesitate to go over the surface with your roller again. This will help distribute any excess paint evenly over the surface and greatly reduce any possible streaks as it dries.
To prevent paint marks when drying, use plenty of light on the areas you are painting so that you can quickly spot any unevenness in the application.
Light is often neglected for this type of construction site.
What color should I paint my ceiling?
In the vast majority of cases, white is used on the ceiling: timeless, compatible with everything and neutral in all circumstances, it ticks all the boxes.
However, other options exist for decor lovers, particularly depending on the shade chosen for your walls. Warm white is a real alternative for bringing warmth to the room and ensuring a more personal touch.
An off-white may be recommended, if the walls are already painted in this color.
Likewise, very soft and pastel colors can be applied: we think of light beige first of all for a more disruptive and original decor.
How to remove roller marks from the ceiling?
To remove roller marks from a ceiling, the first step is to identify them before sanding the affected areas with sandpaper.
It is important that the ceiling paint is dry before any possible repainting work can be carried out.
Once you have cleaned the treated area, you can apply an undercoat and repaint.


